2048 Game on Amazon EKS
kubectl apply --dry-run=client -f 2048-deployment.yaml -f mygame-svc.yamlOverview
Section titled “Overview”Simple Kubernetes workload targeting EKS.
What You Will Build
Section titled “What You Will Build”Architecture Diagram
Section titled “Architecture Diagram”Prerequisites
Section titled “Prerequisites”- Install or review: Kubernetes, 2048 Game, AWS.
- Use your own cloud account credentials and keep them out of commits.
- This project expects cloud resources, so verify budget alerts and cleanup first.
- Open the safety guide before running commands that create infrastructure.
Credentials And Cost Warning
Section titled “Credentials And Cost Warning”Cost risk is medium. Cloud target: AWS. Cloud credentials needed: Yes. Always use your own account, never commit secrets, and confirm cleanup before creating paid infrastructure.
Step-By-Step Lab
Section titled “Step-By-Step Lab”Use this flow before you run commands:
- Read the cost and credential warning above.
- Review the validation, troubleshooting, cleanup, and portfolio proof sections below.
- Follow the original project guide preserved near the bottom of this page.
- Return to the validation and cleanup checks before you capture portfolio evidence.
Validation Checks
Section titled “Validation Checks”Run the project validation command before and after meaningful changes:
kubectl apply --dry-run=client -f 2048-deployment.yaml -f mygame-svc.yamlTroubleshooting
Section titled “Troubleshooting”- Run
kubectl apply --dry-run=client -f 2048-deployment.yaml -f mygame-svc.yamlfirst so local tooling issues are visible early. - If a command fails, check tool versions, working directory, and required environment variables.
- For cloud failures, confirm account identity, region, quotas, and least-privilege IAM.
- For Kubernetes failures, check the current context, namespace, pod events, and service endpoints.
Cleanup
Section titled “Cleanup”No dedicated cleanup command was detected in the project README. Treat this as a warning: before provisioning anything, write down the exact delete, destroy, or rollback steps for your environment.
Portfolio Proof
Section titled “Portfolio Proof”- Validation command output:
kubectl apply --dry-run=client -f 2048-deployment.yaml -f mygame-svc.yaml - Screenshot or terminal proof: Kubernetes resource output plus app/GitOps screenshot
- Notes explaining what changed, what failed, and how you fixed it
- Cleanup evidence, especially for cloud or Kubernetes resources
Original Project Guide
Section titled “Original Project Guide”The original README content is preserved here for lab-specific commands and context. Headings are intentionally demoted so the page outline stays focused on the standard lab flow.
Prerequisites:
Section titled “Prerequisites:”kubectl – A command line tool for working with Kubernetes clusters. For more information, see Installing or updating kubectl.
eksctl – A command line tool for working with EKS clusters that automates many individual tasks. For more information, see Installing or updating.
AWS CLI – A command line tool for working with AWS services, including Amazon EKS. For more information, see Installing, updating, and uninstalling the AWS CLI in the AWS Command Line Interface User Guide. After installing the AWS CLI, we recommend that you also configure it. For more information, see Quick configuration with aws configure in the AWS Command Line Interface User Guide.
✅ Project Title: Deploying 2048 Game App on Amazon EKS
Section titled “✅ Project Title: Deploying 2048 Game App on Amazon EKS”✅ Project Description:
Section titled “✅ Project Description:”A Kubernetes End-to-End (E2E) project for deploying a 2048 game app on Amazon Elastic Kubernetes Service (EKS) involves setting up, deploying, and managing the popular 2048 game application on a Kubernetes cluster running on AWS EKS. This project aims to demonstrate how to containerize a web application, deploy it on EKS, manage the cluster, and expose the application to users.
✅ Containerization:
Section titled “✅ Containerization:”I began by containerizing the 2048 game using Docker. This involved creating a Dockerfile to define the application’s runtime environment and dependencies, ultimately resulting in a Docker image ready for deployment.
✅ Amazon EKS Setup:
Section titled “✅ Amazon EKS Setup:”I set up an Amazon EKS cluster, configuring the required resources and network settings using AWS services. This step included authentication and permissions setup to interact with the EKS cluster.
✅ Deployment:
Section titled “✅ Deployment:”The containerized 2048 game was deployed on the EKS cluster using Kubernetes. I defined Kubernetes Deployment (which provides replication and self-healing) and Service YAML files to ensure the application’s efficient management and availability.
✅ Scaling and Management:
Section titled “✅ Scaling and Management:”I explored Kubernetes’s scaling capabilities by utilizing a Deployment rather than a raw Pod, adjusting the number of application replicas based on demand. This ensured the game could handle varying levels of user traffic seamlessly
✅ Application Exposure:
Section titled “✅ Application Exposure:”To make the 2048 game accessible to users, I created a Kubernetes service (Type: LoadBalancer) to expose it securely over the internet. Additionally, I could have implemented an Ingress controller for more advanced routing
🛡️ 2026 DevSecOps Enhancements (What You Will Learn)
Section titled “🛡️ 2026 DevSecOps Enhancements (What You Will Learn)”This repository uses modern, enterprise-ready Kubernetes manifests:
- Deployments over Pods: The legacy tutorial deployed a bare
Pod. We upgraded this to a formal KubernetesDeployment(2048-deployment.yaml). Never deploy naked Pods to production, as they cannot self-heal if the Node dies. - Resource Quotas: The Deployment manifest defines exact CPU and Memory limits, preventing this application from starving other workloads on the EKS cluster.
- Restricted Security Contexts: The container is specifically instructed to drop all Linux capabilities (
ALL) and prevent accidental privilege escalation.
Step 1: Create an EKS cluster
Section titled “Step 1: Create an EKS cluster”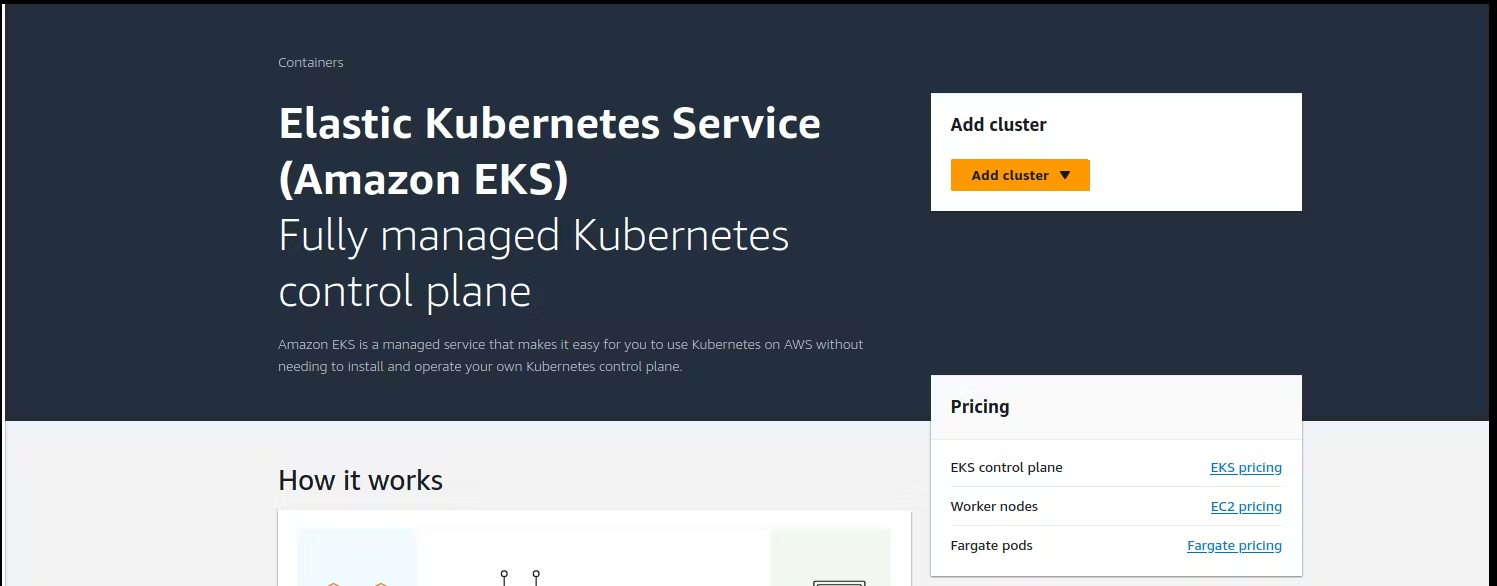
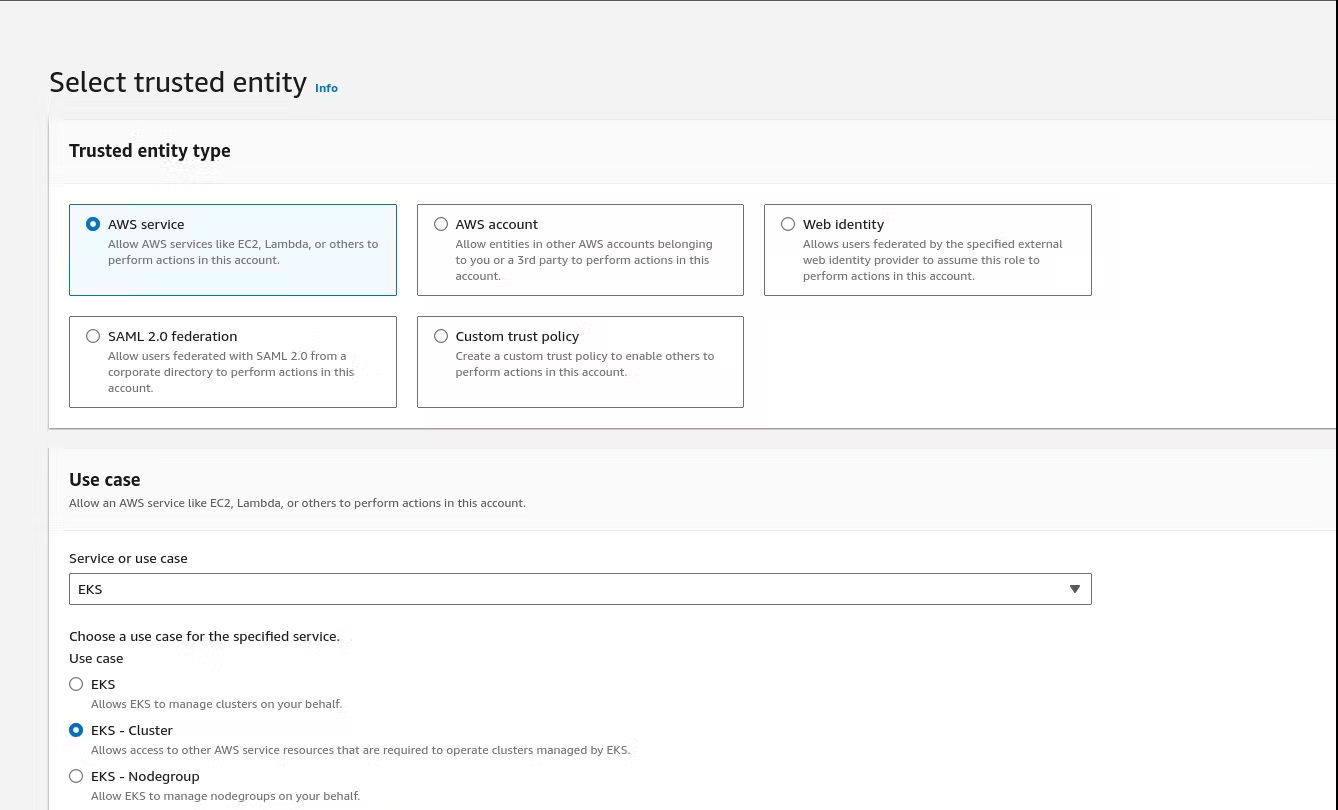
Step 2: Create an IAM role eks-cluster-role with 1 policy attached: AmazonEKSClusterPolicy
Section titled “Step 2: Create an IAM role eks-cluster-role with 1 policy attached: AmazonEKSClusterPolicy”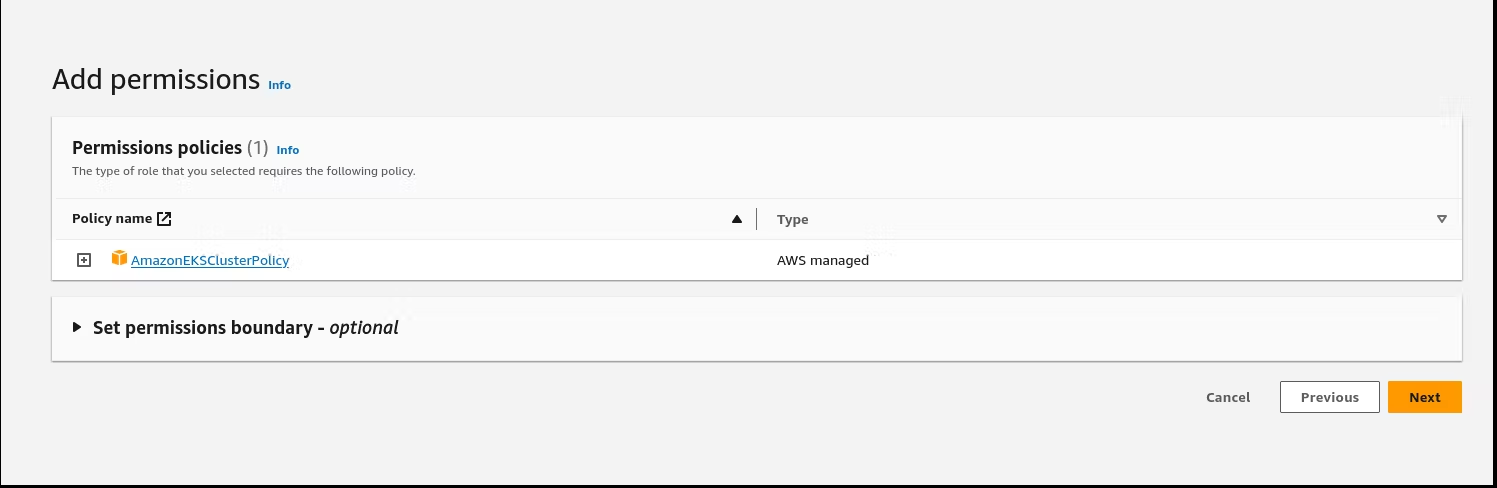
Create another IAM role 'eks-node-grp-role' with 3 policies attached:(Allows EC2 instances to call AWS services on your behalf.) - AmazonEKSWorkerNodePolicy - AmazonEC2ContainerRegistryReadOnly - AmazonEKS_CNI_PolicyChoose default VPC, Choose 2 or 3 subnetsChoose a security group which open the ports 22, 80, 8080cluster endpoint access: public
#### For VPC CNI, CoreDNS and kube-proxy, choose the default versions, For CNI, latest and default are#### different. But go with default.
Click 'Create'. This process will take 10-12 minutes. Wait till your cluster shows up as Active.Step 3: Add Node Groups to our cluster
Section titled “Step 3: Add Node Groups to our cluster”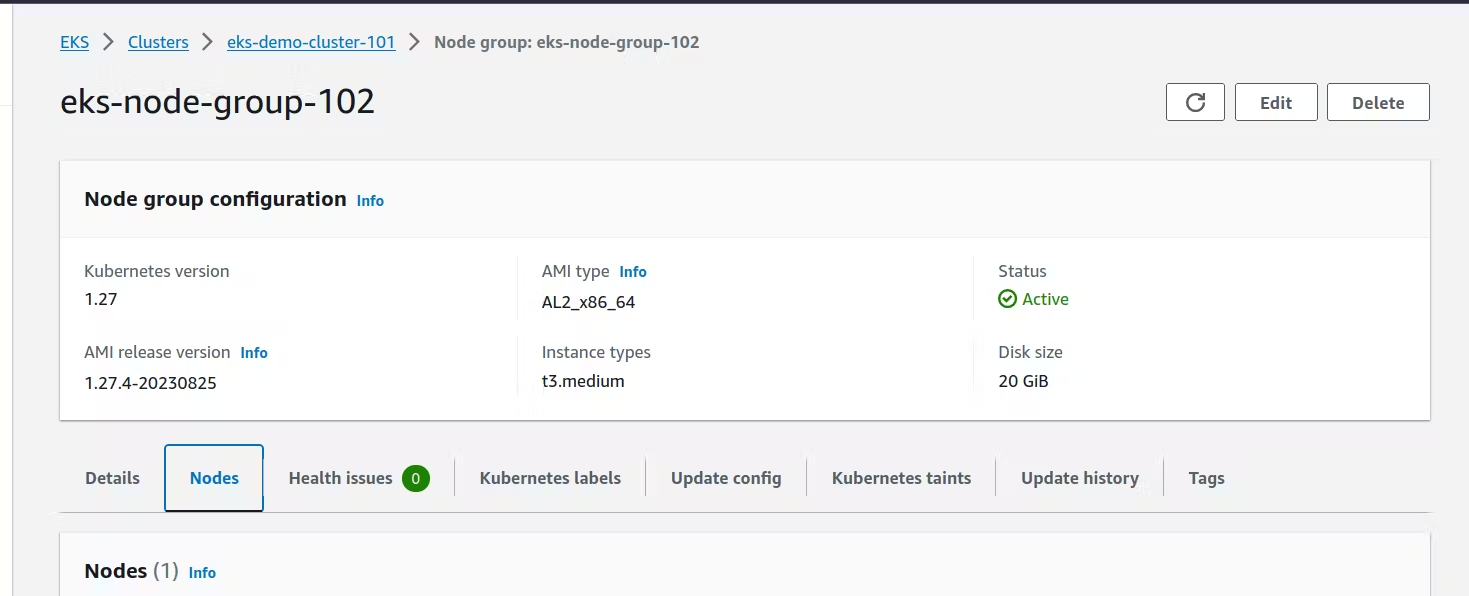
Now, lets add the worker nodes where the pods can run
Open the cluster > Compute > Add NodeGrpName: <yourname>-eks-nodegrp-1Select the role you already createdLeave default values for everything else
AMI - choose the default 1 (Amazon Linux 2)change desired/minimum/maximum to 1 (from 2)Enable SSH access. Choose a security group which allwos 22, 80, 8080
Choose default values for other fields
Node group creation may take 2-3 minutes
Step 4: Authenticate to this cluster
Section titled “Step 4: Authenticate to this cluster”Reference:https://docs.aws.amazon.com/eks/latest/userguide/create-kubeconfig.html
Open cloudshell
#### Type on your AWS CLI windowaws sts get-caller-identity#### observe your account and user id details
#### Create a kubeconfig file where it stores the credentials for EKS:#### kubeconfig configuration allows you to connect to your cluster using the kubectl command line.aws eks update-kubeconfig --region region-code --name my-clusterex: aws eks update-kubeconfig --region us-east-1 --name unus-eks-cluster-1 # Use the cluster name you justcreated
#### see if you can get the nodes you createdkubectl get nodes
#### Install nano editor in cloudshell. We will need this in the next tasksudo yum install nano -yStep 5: Create a new Deployment in EKS for the 2048 game
Section titled “Step 5: Create a new Deployment in EKS for the 2048 game”#### Note: Refer to the 2048-deployment.yaml in this repository for the full secure#### configuration including resource limits and dropped capabilities.apiVersion: apps/v1kind: Deploymentmetadata: name: deployment-2048 labels: app: 2048-wsspec: replicas: 1 selector: matchLabels: app: 2048-ws template: metadata: labels: app: 2048-ws spec: containers: - name: 2048-container image: blackicebird/2048 ports: - containerPort: 80#### apply the config file to create the deploymentkubectl apply -f 2048-deployment.yaml#### deployment.apps/deployment-2048 created
#### view the newly created podskubectl get podsStep 6: Setup Load Balancer Service
Section titled “Step 6: Setup Load Balancer Service”apiVersion: v1kind: Servicemetadata: name: mygame-svcspec: selector: app: 2048-ws ports: - protocol: TCP port: 80 targetPort: 80 type: LoadBalancer#### apply the config filekubectl apply -f mygame-svc.yaml#### view details of the modified servicekubectl describe svc mygame-svc#### Access the LoadBalancer Ingress on the kops instancecurl <LoadBalancer_Ingress>:<Port_number>orcurl a06aa56b81f5741268daca84dca6b4f8-694631959.us-east-1.elb.amazonaws.com:80(try this from your laptop, not from your cloudshell)#### Go to EC2 console. get the DNS name of ELB and paste the DNS into address bar of the browser#### It will show the 2048 game. You can play. (need to wait for 2-3 minutes for the#### setup to be complete)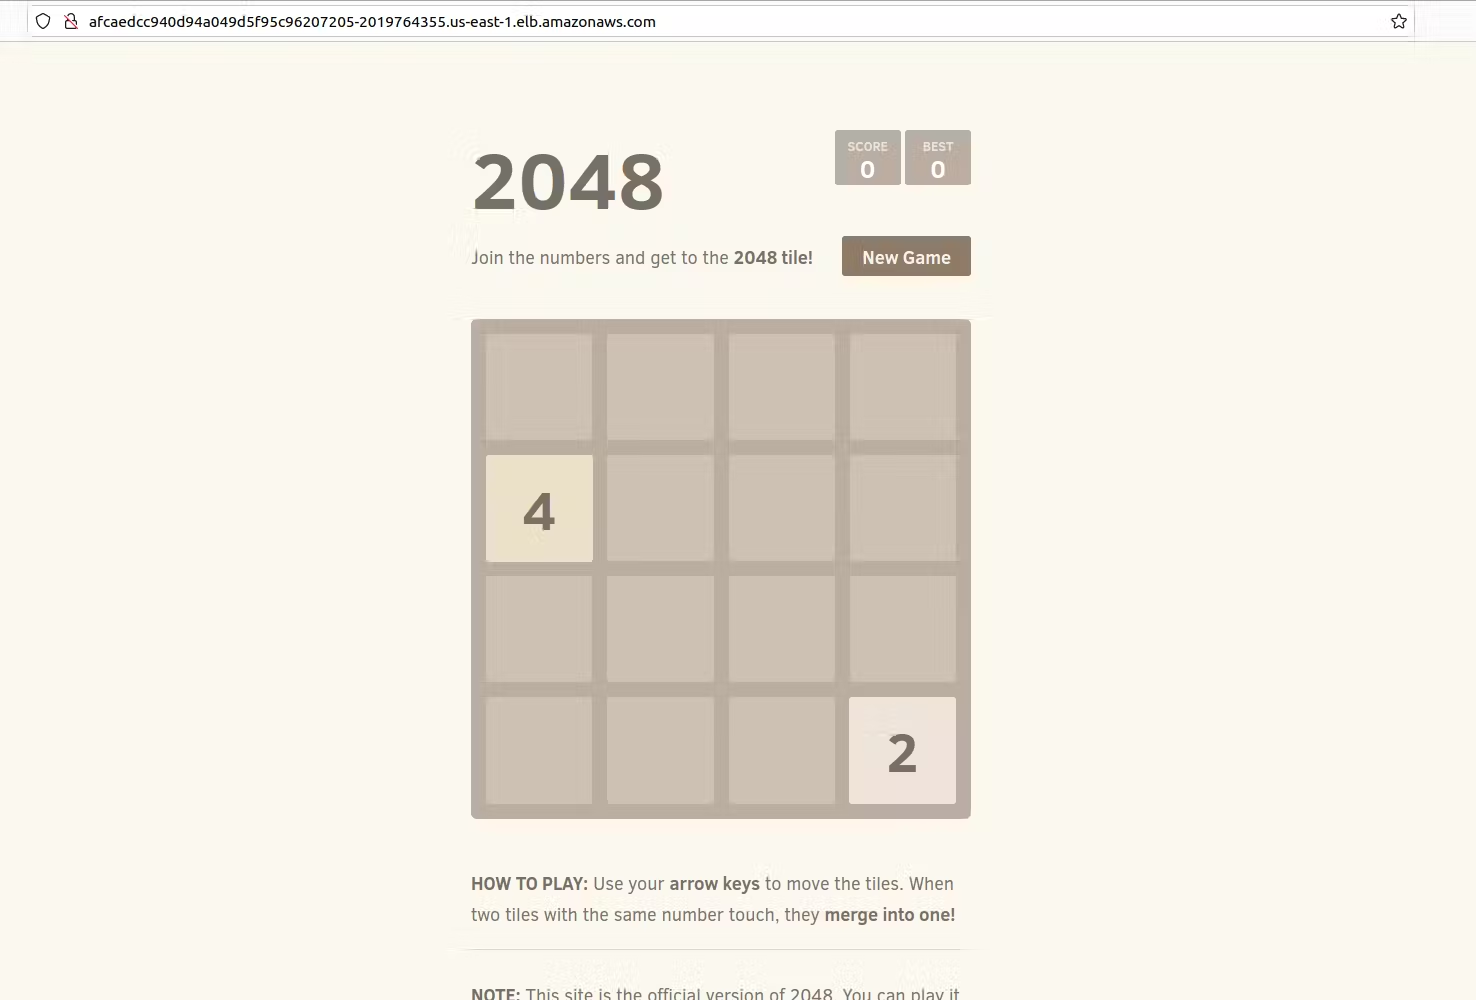
Thank you
Section titled “Thank you”Thank you for taking the time to work on this tutorial/labs. Let me know what you thought!
Ensure to follow me on GitHub. Please star/share this repository!
Source Files On GitHub
Section titled “Source Files On GitHub”The full learning flow stays on this page. Open GitHub only when a step asks you to inspect code, fork the lab, or download source assets.